These are my co-worker's Coconut Macaroons! She has an innate ability to find fantastic cookie recipes. I'm sure I've seen her wandering about with a little divining spatula in her hands. These are delicious sweet little clouds of coconut with just the perfect amount of sweetness. A little advice to the uninitiated - do not make these when you are alone or you will eat every single one by yourself.
Preheat oven to 325°
4 egg whites
1 tsp almond extract
4 cups coconut
1 cup sugar
Beat egg white until frothy. Add almond extract and mix more.
Fold in coconut and sugar.
Drop into aproximately 1in circles (a mini muffin scoop is perfect for this) and place on cookie tray (works best when lined with parchment paper if not then greased.
Bake for 20 minutes. Brown a little on top if you like (broil for no more than 3 minutes.


Wednesday
The Garden in Spring
Well, I thought I would post some pics of my garden as I have received a lot of pleasure digging and planning and moving things about. Most of these pics were taken in late spring so the some of the early blooming plants are in the late stages of flowering while some other plants haven't even fully roused themselves from their winter sleep yet. Overall in my garden I am aiming for primarily a foliage garden with spots of color here and there, mostly blues, lavenders and pinks. Overall. There are always exceptions here and there too. I love the tranquil feel and beautiful color of various blue tones in foliage so most of my plants do have blue tones in their leaves or flowers or the color of their foliage works well with blues (I think). I have made a little footpath through the garden so that I can get in and weed it when I feel the need or want. So many people think that one's garden is very limited for plant material in Calgary gardens (zone 3). But there are so many lovely inspiring gardens here. While it is true we do not have as wide a plant selection as many other places there are many wonderful plants that thrive here.
One of the things I always wish is that photographs of gardens came with guides indicating what plants and shrubs are in them so I decided to include the names of the plants below the photographs. If some are unclear or if you wish more detail about a certain plant please email me and I would be happy to share any info I can. The garden gives me a lot of pleasure and hopefully these pics will convey the nature and feel of what I am trying to achieve. There are far more blooms in the spring than the rest of the season but there are a few very long blooming shrubs and perennials in there as well. Smatterings of soft color just enhance a garden I think without overwhelming the eye or senses.
So here is my garden - it is my desire to have a peaceful, calm naturalistic feel, like. A little wild. A little unpredictable, always lovely ...
One of the things I always wish is that photographs of gardens came with guides indicating what plants and shrubs are in them so I decided to include the names of the plants below the photographs. If some are unclear or if you wish more detail about a certain plant please email me and I would be happy to share any info I can. The garden gives me a lot of pleasure and hopefully these pics will convey the nature and feel of what I am trying to achieve. There are far more blooms in the spring than the rest of the season but there are a few very long blooming shrubs and perennials in there as well. Smatterings of soft color just enhance a garden I think without overwhelming the eye or senses.
So here is my garden - it is my desire to have a peaceful, calm naturalistic feel, like. A little wild. A little unpredictable, always lovely ...
Sunday
Oriental Meatballs
These meatballs really started out as Vietnamese pork meatballs - that is why you will find green onions and fish sauce in them. All Vietnamese dishes have fish sauce except their ice cream. However I had decided to use ground beef instead of pork. I performed a tightly controlled taste test in which I fast fried a loosely formed mini patty in a pan and left it to cook for as long as it took to throw in a load of laundry. Results showed that the Vietnamese seasonings were great for the milder flavor of pork but not nearly rich enough for beef. So I added some Chinese seasoning instead. Rather a lot I suppose. After another tightly controlled but hastily performed taste test during which I sauntered off to my office to check my email - I then assessed the results. Here it is with the final inexact quantities. The amounts are approximate, and I am sure I used a bit more of almost everything here (accept the crackers) rather than a bit less. The sesame seeds give a lovely little texture and taste bonus but these are wonderful without them to...

Oriental Meatballs
2.5 lbs regular gr. beef
about 15-20 french onion biscuits (Christie)
2 tbsp fish sauce
3 - 4 tbsp soy sauce
2 - 3 tsp sesame oil
lots grated garlic (2 -3 tsp or so)
lots grated fresh ginger (2 - 3 tsp or so)
1/2 - 3/4 c. onion, minced
1/3 - 1/2 c. green onion, minced
salt (1 - 2 tsp) to taste
pepper (1/2 tsp) to taste
1/3 - 1/2 c. sesame seeds if you would like
In large bowl crush onion biscuits roughly. Add enough water just to moisten the crackers. Let sit few minutes to absorb water then smack them in to a paste. Add fish sauce, soy sauce, sesame oil, garlic & ginger, salt & pepper. Add onion and green onion. Mix. Form a little tiny patty and pan fry to test.
Adjust seasonings. Roll into balls. Roll in sesame seeds. Bake 400 farenheit about 30 - 40 mins. Turning every 7 - 10 mins or so.
Serve by themselves or with a dipping sauce.
Saturday
Indian Rice Pudding
Indian rice pudding is easily my favorite rice pudding. It is far moister, less thick and less sweet than the British, European and Scandanavian rice puddings. All these are dryer and denser than the Indian style which is fine if that is what you want. I like it to be light and moist, wet really and not to rich and not to filling (because then I can eat more of it). Even after filling yourself to the rafters with a heavy spicy Indian meal you can still enjoy a bowl of this wonderful pudding.
It is pretty hard to go wrong with almost any Indian rice pudding recipe really though this is the one that I like. Just use very little rice and sugar. These are key. The biggest difference will be how sweet it is and what little additions in the form of spices or nuts or fruit have been added.
 Here is a simple recipe that just makes about 2 - 1/2 cups to start you off ..... you can easily double it or triple it. Just be sure to use a wide bottomed pot or it will take much longer to reduce the milk to the right consistency.
Indian Rice Pudding
3 Tbsp basmati rice
3 Tbsp sugar
1 litre whole white milk
1/2 tsp ground green cardamon
2 Tbsp sliced almonds and roughly crushed pistachios (and a bit of colorful dried fruit to if you wish for colour).
In a heavy bottomed pot bring the milk to a boil. Watch it as once it starts to foam up it will overflow the pot in seconds and make a huge mess - so....
bring milk to a boil. Add rice and reduce heat to medium. Stir very frequently until milk is reduced to almost half. It will be thick and creamy (as thick as cream). Add sugar & cardamon and continue to cook a couple minutes until the sugar is completely disolved. Pour it into a bowl and chill in the refridgerator until cool. Garnish with nuts and dry fruit if you wish.
It is pretty hard to go wrong with almost any Indian rice pudding recipe really though this is the one that I like. Just use very little rice and sugar. These are key. The biggest difference will be how sweet it is and what little additions in the form of spices or nuts or fruit have been added.
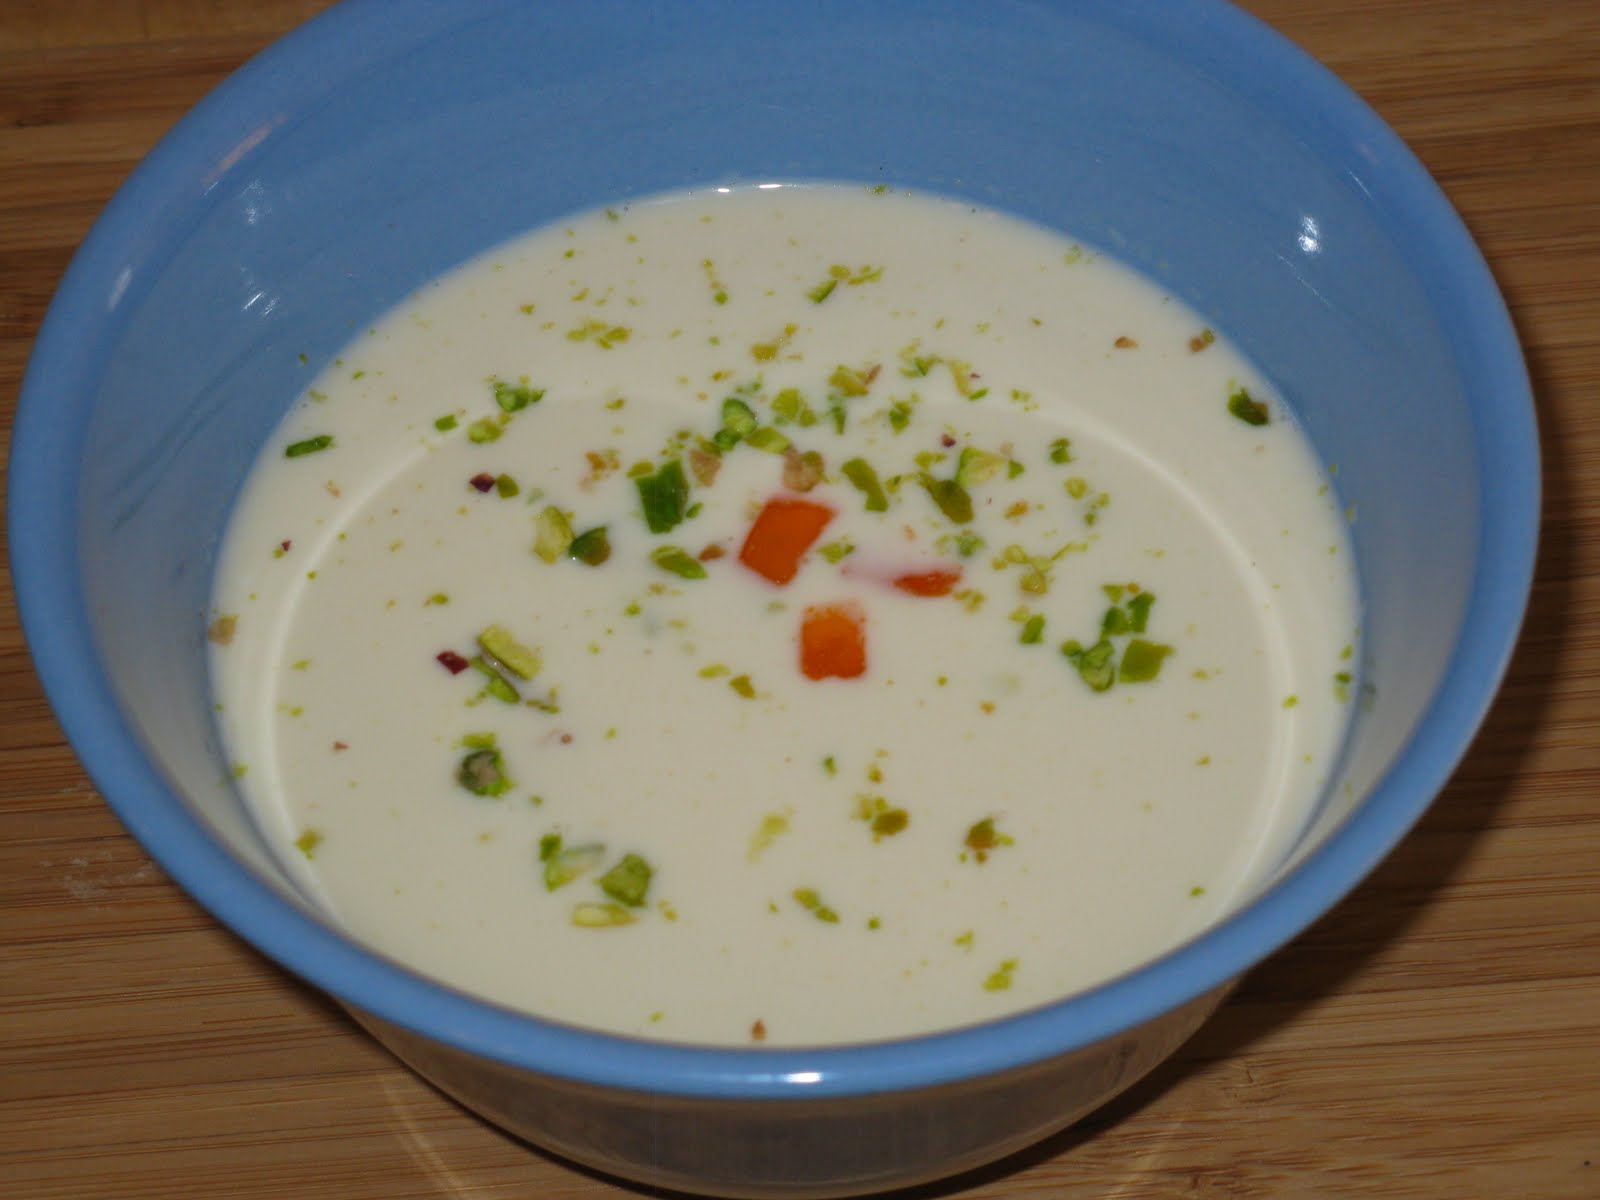
Indian Rice Pudding
3 Tbsp basmati rice
3 Tbsp sugar
1 litre whole white milk
1/2 tsp ground green cardamon
2 Tbsp sliced almonds and roughly crushed pistachios (and a bit of colorful dried fruit to if you wish for colour).
In a heavy bottomed pot bring the milk to a boil. Watch it as once it starts to foam up it will overflow the pot in seconds and make a huge mess - so....
bring milk to a boil. Add rice and reduce heat to medium. Stir very frequently until milk is reduced to almost half. It will be thick and creamy (as thick as cream). Add sugar & cardamon and continue to cook a couple minutes until the sugar is completely disolved. Pour it into a bowl and chill in the refridgerator until cool. Garnish with nuts and dry fruit if you wish.
Delicious No Bake (No Joke) Frozen Chocolate Cheesecake
This is a lovely no bake chocolate cheesecake given to me by my friend at work. I did not even realize that it was a no bake cheesecake until I asked her how she made it! Not too rich, not too sweet, not too heavy on the cream cheese - but it is still undoubtably a cream cheese cheesecake. Not overly dense and heavy like most. Nor is it one of those light fluffy little phony cheesecakes that make you shudder - this is the real thing but with a lighter touch than the baked kind. Oh yeah, this went so fast - if I had realized how fast it would go I would have taken a second piece and hidden it deep within the hidden recesses of the overcrowded refrigerator among the plastic bags and containers and mystery foods and whatever the hell else is in there cluttering it up.
The ingredients in this recipe can easily be adjusted to make it more chocolaty (with the additon of more cocoa or melted chocolate). Or softer with the addition of more whipping cream or coffee or liquors could be added. It is very very flexible - no fail - no bake - no joke. A really lovely cheesecake.

Crust
Oreo cookie crumbs (12 box)
1/3 c. melted butter
In a springform pan pour Oreo cookie crumbs and pour melted butter over. Mix with fork and flatten down evenly with hand or spoon (when using your hand please remember you are cooking for others ie. under fingernail remenants not required) Bake for 10-15min at 375 degrees (sure hope you pre-heated!)
Cheesecake Filling
125 ml whipping cream (35%)
1 large package cream cheese (light if you want to fool yourself into thiniing this will be low fat.) Lit this sit out at room temperature to make it easier (or don't - whatever.)
3/4 to 1 c. white sugar (to taste - less if you think you are sweet enough)
1/4 c. cocoa
In a large bowl whip the whipping cream - set aside. In another large bowl (I know you have 2!) whip the cream cheese. In a 2 cup measuring cup mix together with a fork the sugar and cocoa (just to get the lumps out of the cocoa) and add sugar to cream cheese mix. Taste filling to be sure it is chocolaty/sweet enough (adjust as needed). *When the crust is cooled spread filling evenly around (or don't - whatever), cover, and put in freezer for a minimum of 1 hour - I suggest overnight. Serve immediately and put back in freezer if getting to soft.
Enjoy!
The ingredients in this recipe can easily be adjusted to make it more chocolaty (with the additon of more cocoa or melted chocolate). Or softer with the addition of more whipping cream or coffee or liquors could be added. It is very very flexible - no fail - no bake - no joke. A really lovely cheesecake.

No-Bake Frozen Chocolate Cheesecake
Crust
Oreo cookie crumbs (12 box)
1/3 c. melted butter
In a springform pan pour Oreo cookie crumbs and pour melted butter over. Mix with fork and flatten down evenly with hand or spoon (when using your hand please remember you are cooking for others ie. under fingernail remenants not required) Bake for 10-15min at 375 degrees (sure hope you pre-heated!)
Cheesecake Filling
125 ml whipping cream (35%)
1 large package cream cheese (light if you want to fool yourself into thiniing this will be low fat.) Lit this sit out at room temperature to make it easier (or don't - whatever.)
3/4 to 1 c. white sugar (to taste - less if you think you are sweet enough)
1/4 c. cocoa
In a large bowl whip the whipping cream - set aside. In another large bowl (I know you have 2!) whip the cream cheese. In a 2 cup measuring cup mix together with a fork the sugar and cocoa (just to get the lumps out of the cocoa) and add sugar to cream cheese mix. Taste filling to be sure it is chocolaty/sweet enough (adjust as needed). *When the crust is cooled spread filling evenly around (or don't - whatever), cover, and put in freezer for a minimum of 1 hour - I suggest overnight. Serve immediately and put back in freezer if getting to soft.
Enjoy!
Mango Rabri
This is a creamy luscious desert from India with a soft mango flavor and chunks of soft tropical fruit. It is hearty enough to feel like a real desert but is actually not to heavy. There are two versions. Old style and new style. They are both equally good - truly. The old style rabri is made in the manner of an Indian rice pudding - milk heated and stirred over medium heat for a long time until the milk is reduced to a thick pudding. The new style uses either cream or condensed milk for a fast but thick pudding. The traditional one is fantastic but if you don't care whether it is low fat or not and do not have the patience to stir a pot for an hour or so then make it this way. This is fast and utterly delicious.

Mango Rabri
1 can of Alphonso mango puree (1 pound can)
1 1/2 litres 18 % cream
1/3 c. sugar
1 - 20 oz. can diced papaya or tropical fruit or a mixture of both.
Whisk mango puree, creams and sugar together. Stir well. Add can of fruit - dice large chunks into smaller 1/2 inch cubes. Add the syrup a bit at a time so that you can make the pudding as thin or thick as you please. Pour pudding into large bowl and chill. Sprinkle with something for colour - bit of crushed pistachios or a sprinkling of crushed almonds and slivers of diced tropical fruit.
Tuesday
The Garden Path


Different angle ... further along the path. The tree is the previously mentioned Toba Morden Hawthorn which blooms in the spring. Beside it is the Halycon Hosta and to the right of that is are the speckled leaves of Lungwort. An unattractive name for a very beautiful plant which blooms first thing in the spring. On the fence are trellis with chicken wire for the clematis to climb on. Behind the tree is the Lemon Bell clematis which is making it's way tendril by tendril to the empty trellis on it's right. The trellis on the farthest right has a large flowered mystery clematis. Immediately in front of the empty trellis is a tallish perennial with deep purple stems and jagged outward facing leaves. That is Snakeroot and is very rich and beautifully coloured. The little purple flowers around the trunk of the hawthorn tree are Jolly Bee geraniums. Then on the far right the pink roses are tied up around the twisty sticks are John Davis shrub roses. In front of them are little splashes of small deep red flowers called Coral Bells. The Jolly Bee Geraniums, John Davis roses and Coral Bells bloom most of the season.


Friday
The Vines
A wall of vines - that is what I am seeking to obtain. Living lush rich walls of foliage. A flush of beautiful delicate flowers in the spring followed by a rich soothing wall of green all summer. One needs vines for such a purpose and one of the best of all is the clematis. They breeze through the frigid - 40 temps that hit Calgary and can handle the extreme temperature changes that we experience due to our Chinooks in the winter. They do not need any babying whatsoever to survive here. Most people are acquainted with the large flowered Clematis, the Jackmani that flowers in the summer. But the clematis I am referring to are primarily the Alpinas and the Macropetalas. They are are tremendously hardy and healthy and grow quickly. The vines remain up all winter on their trellis's - unprotected. They greet the early spring with a wild and lush wave of delicate blossoms then continue to grow and thicken and thrive and the foliage becomes a thick wall of green for the summer. Most clematis have thin delicate deeply serrated leaves and the shadows that hover beneath them create a highly textured visual treat for the eyes. They are easily my favorite vine and there are many beautiful blossom colours to choose from. White, various shades of pink, mauve, blue and purple. Upon the recommendation of a very knowledgeable gardener I have covered my trellis' withchicken wire. The clematis easily pulls itself upward and outward, it's fine curling tendrils twining around anything they encounter. They need no help from the gardener's hands. This is a beautiful, hardy easy care vine that enhances every space. It only needs to be trimmed to suit yourself. If you like a tidy look you can trim it every year right after they bloom. If like me - you like it to be full and lush and a little wild leave it alone to do it's own thing.
.jpg)
Hints When Buying and Planting Clematis
If you go to the garden centers in the spring you can frequently see the clematis in bloom which is wonderful as you can then pick exactly the one(s) that appeal to you. Look for a vine that looks healthy and unblemished. Note how many stalks are coming up from the soil. The more the better. On the day of planting water your clematis with a transplant solution of water and 10-52-10 fertilizer (mixed according to package directions) and let it sit and nourish itself while you dig it's new home. Or get someone else to dig a rather deep hole, perhaps 16 inches deep if you can manage it by 14 -18 inches wide. Dig, dig, dig. Done. After you have dug your hole place a shovelful of compost or aged manure into the bottom (not fresh manure). You can add a small handful of bone meal or blood meal but be aware of your soil type first. Calgary soil tends to be very alkaline. Blood meal will make the soil more acidic & bone meal will make the soil more alkaline. Add the appropriate meal if you wish and mix it with the compost. Place the clematis in the bottom of the hole so that the top of the soil where the clematis meets the soil in the pot is about 6 - 8 inches below the surface of the ground. Place something around the newly planted vine to keep the soil back - perhaps cut out the bottom of a large perennial pot and place it over the clematis. Fill the soil in around the pot right up to the surrounding ground. Inside the pot add soil only until the surface of the soil around the plant is 6 - 8 inches from the top of ground. The reason for this is that you want the stems to harden off throughout the summer then in the fall (or even the following spring) you will remove the pot and fill the soil in around the plant right up to the height of the surrounding soil. If your clematis is approximately 1 foot or more high then trim it back to about 6 - 8 " high. It is hard do this but you will be happy later that you did. It will cause the plant to produce more shoots and therefore become a fuller plant sooner. If you cannot do it yourself then give someone else the shears and close your eyes and let them get on with the deed. You will have a far fuller plant just like when you pinch back tomatoe plants or petunias.
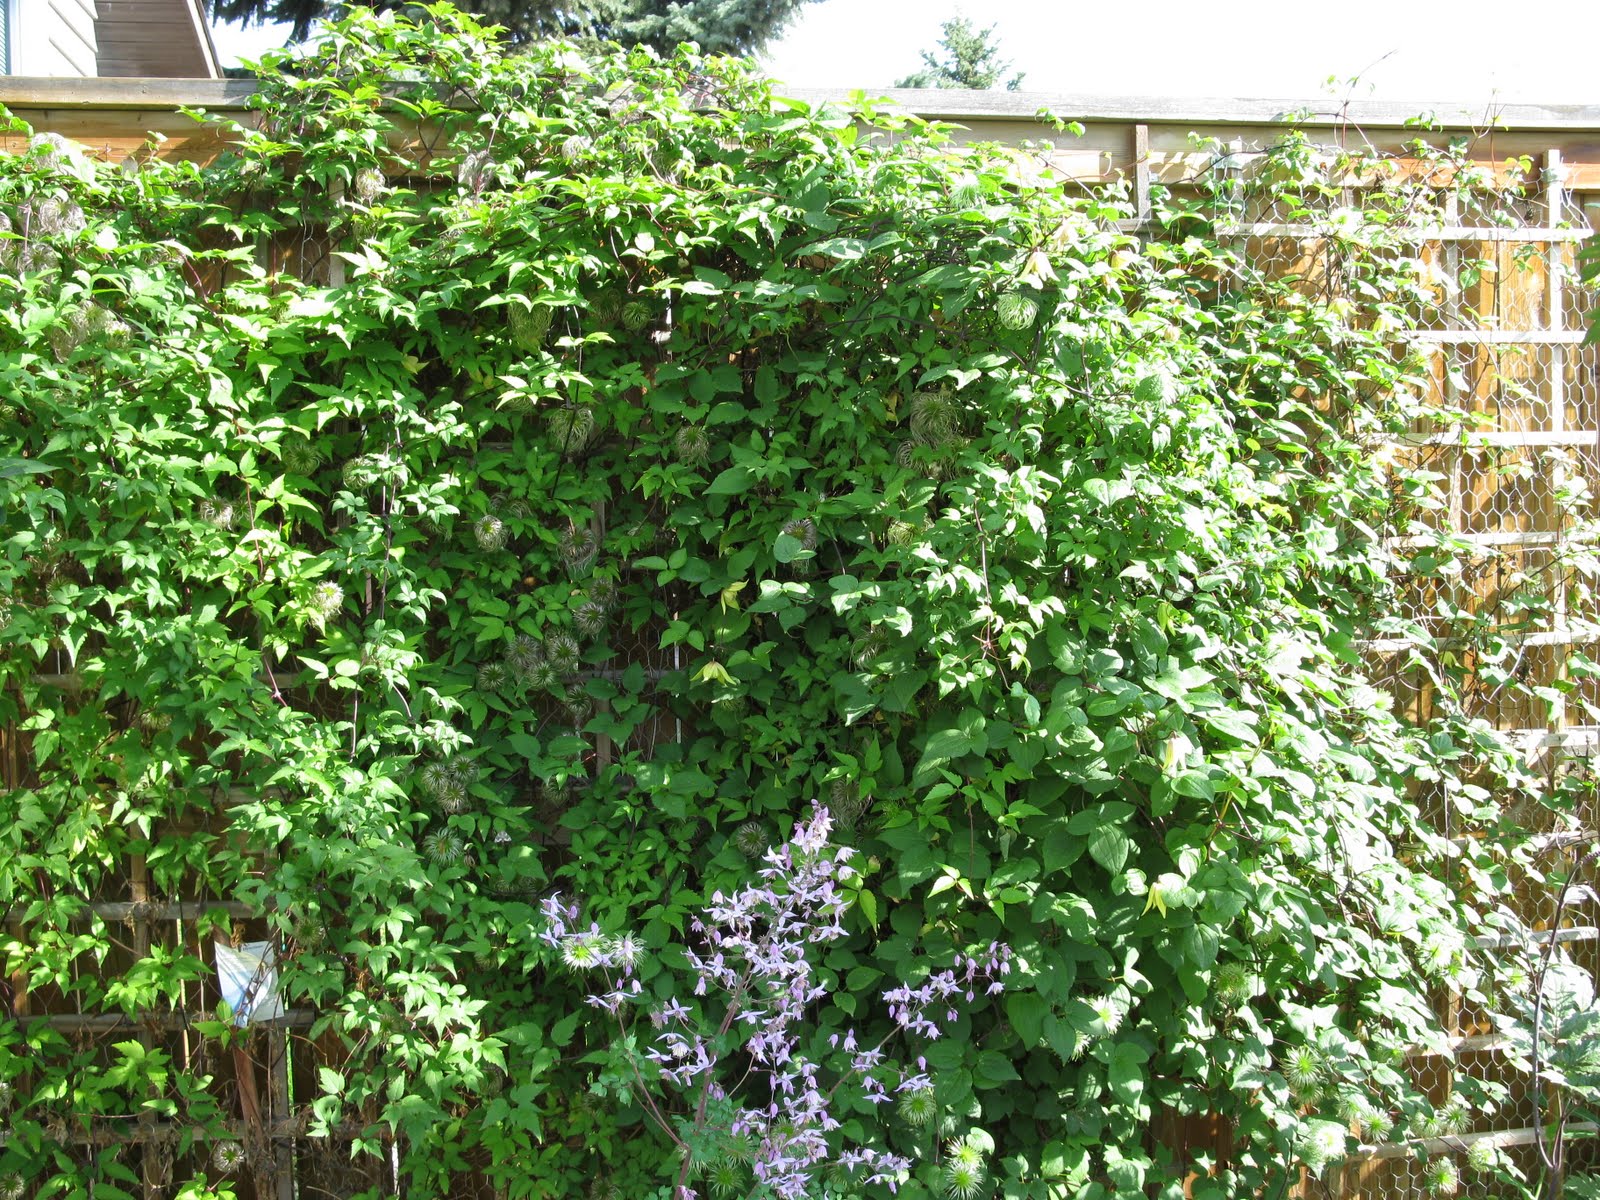
The first clematis on the left is a Helsingborg Clematis, then a Lemon Bell Clematis then the only large flowered clematis I own. Unfortunately I do not know what it is as the label was missing but it was in bloom and was so lovely I bought it against my better judgement. Hopefully I will be able to figure out which one it is this summer... in front of the clematis is a small Meadow Rue (Thalictrium).

There are lilac shrubs on either side of the shed. A Frances Rivis Clematis is engulfing the shed and reaching right into the lilacs almost to the top and right through to the other side. The shrub in the forefront is a young Therese Bugnet shrub rose.
.JPG) Bluebird Clematis (Clematis Macropetala) on the arched trellis.
Bluebird Clematis (Clematis Macropetala) on the arched trellis.

.JPG)

Francis Rivis Clematis clambering through French Lilac's near the ground

Close up of a Lemon Bell clematis. It's stems are square and a deep wine purple. The flowers are lovely down turned yellow bells. This summer I will have to take more pics as I lost most of my garden pics when my computer crashed a number of months ago. The backup memory card I saved everything to - well, it is safely hidden in my house somewhere ...

Clematis Constance (Clematis Alpina) facing north.

Clematis Willy (Clematis Alpina) growing in a shady corner.
.JPG)
This Clematis Helsingborg (Clematis Alpina) is in a very shady location.
Flowers! Pretty Flowers!
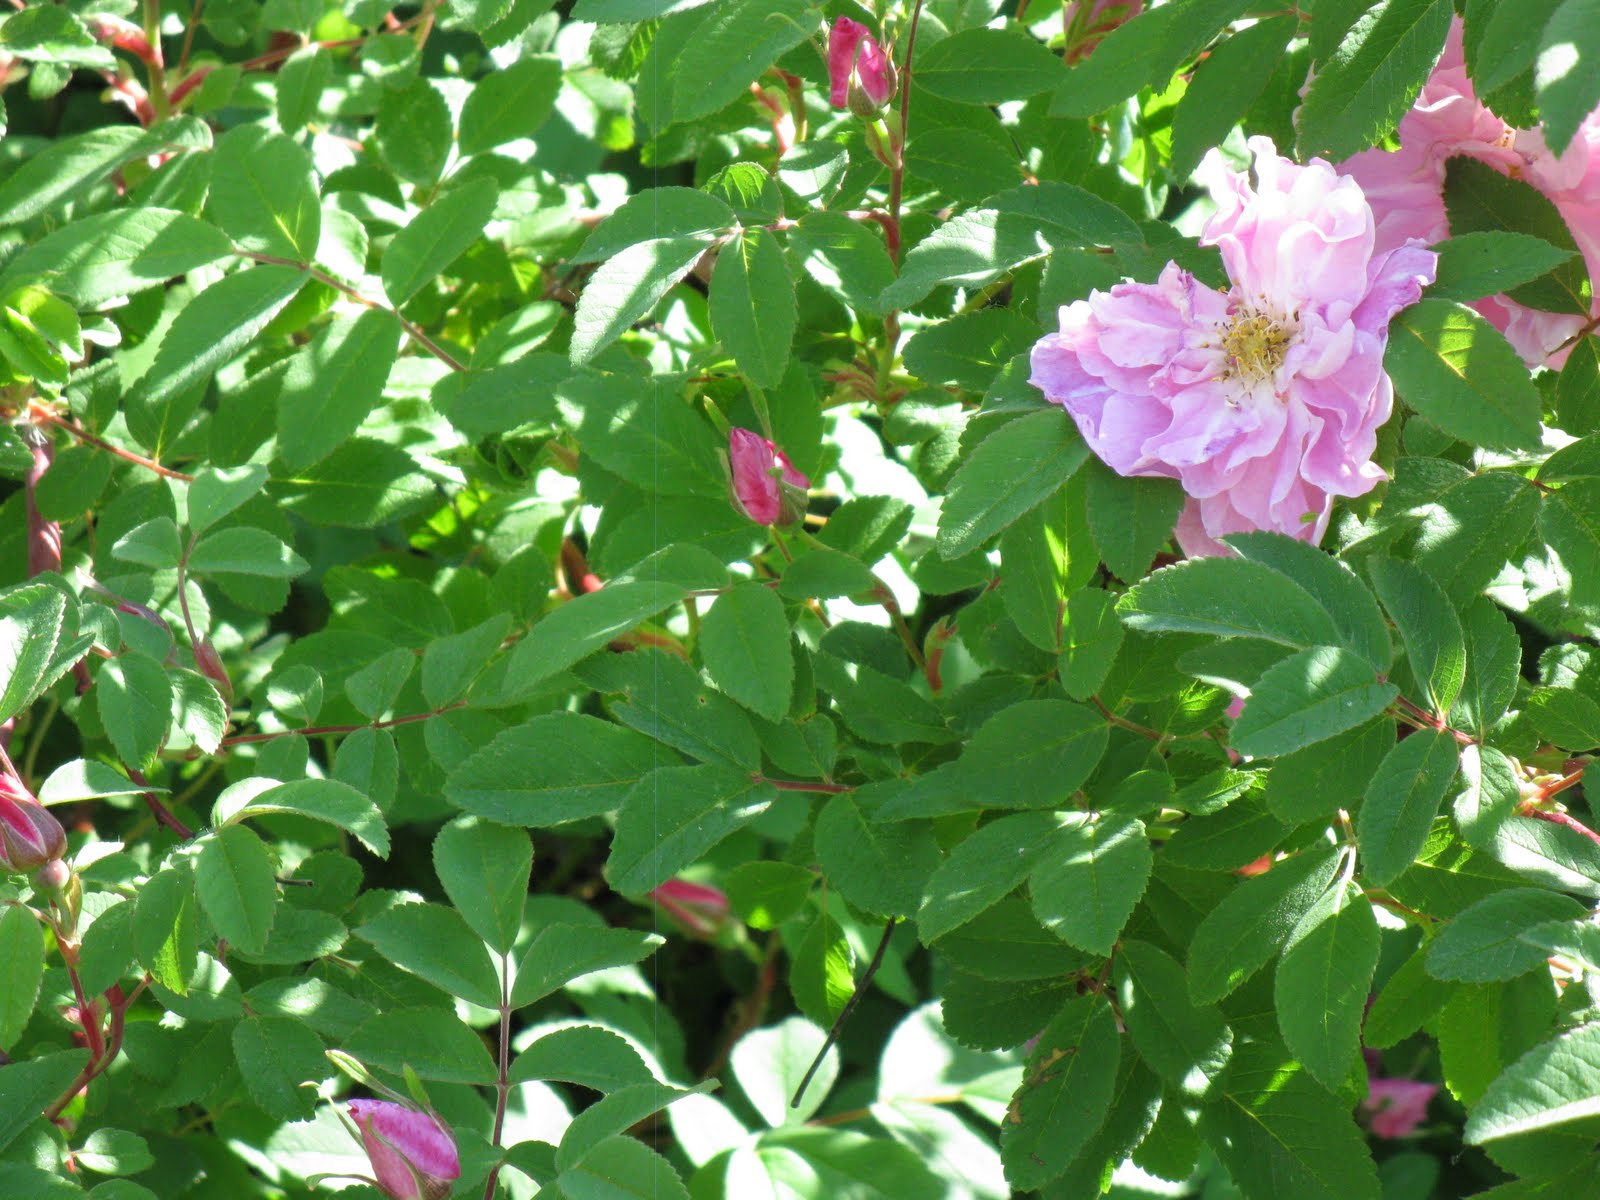


At the very front the scalloped leaves with the clusters of fluorescent green flowers is Lady's Mantle.
When water falls on the leaves it looks like diamonds and is extremely beautiful and evocative. Immediately to the right close to the deck are a few astilbe (must have lots of moisture) and beyond that is a Bleeding Heart. The tallest shrubs in the photograph are Therese Bugnet shrub roses of varying ages. I have many of them as I love them so much. The tiny purple flowers near the center of the photograph are geraniums and behind them more astilbe. Kissing the grass is the white striped Lamium which spreads very quickly. Some people would say it is invasive. It does border on that and if you do not want to reign it in every year you definitely should not put it in your garden. Throughout the center are low growing Sweet Woodroffe so called because our ancestors used it to freshen their mattress' and bed linens. They are tiny white delicate flowers with a beautiful heady perfume and
the foliage is a rich green.
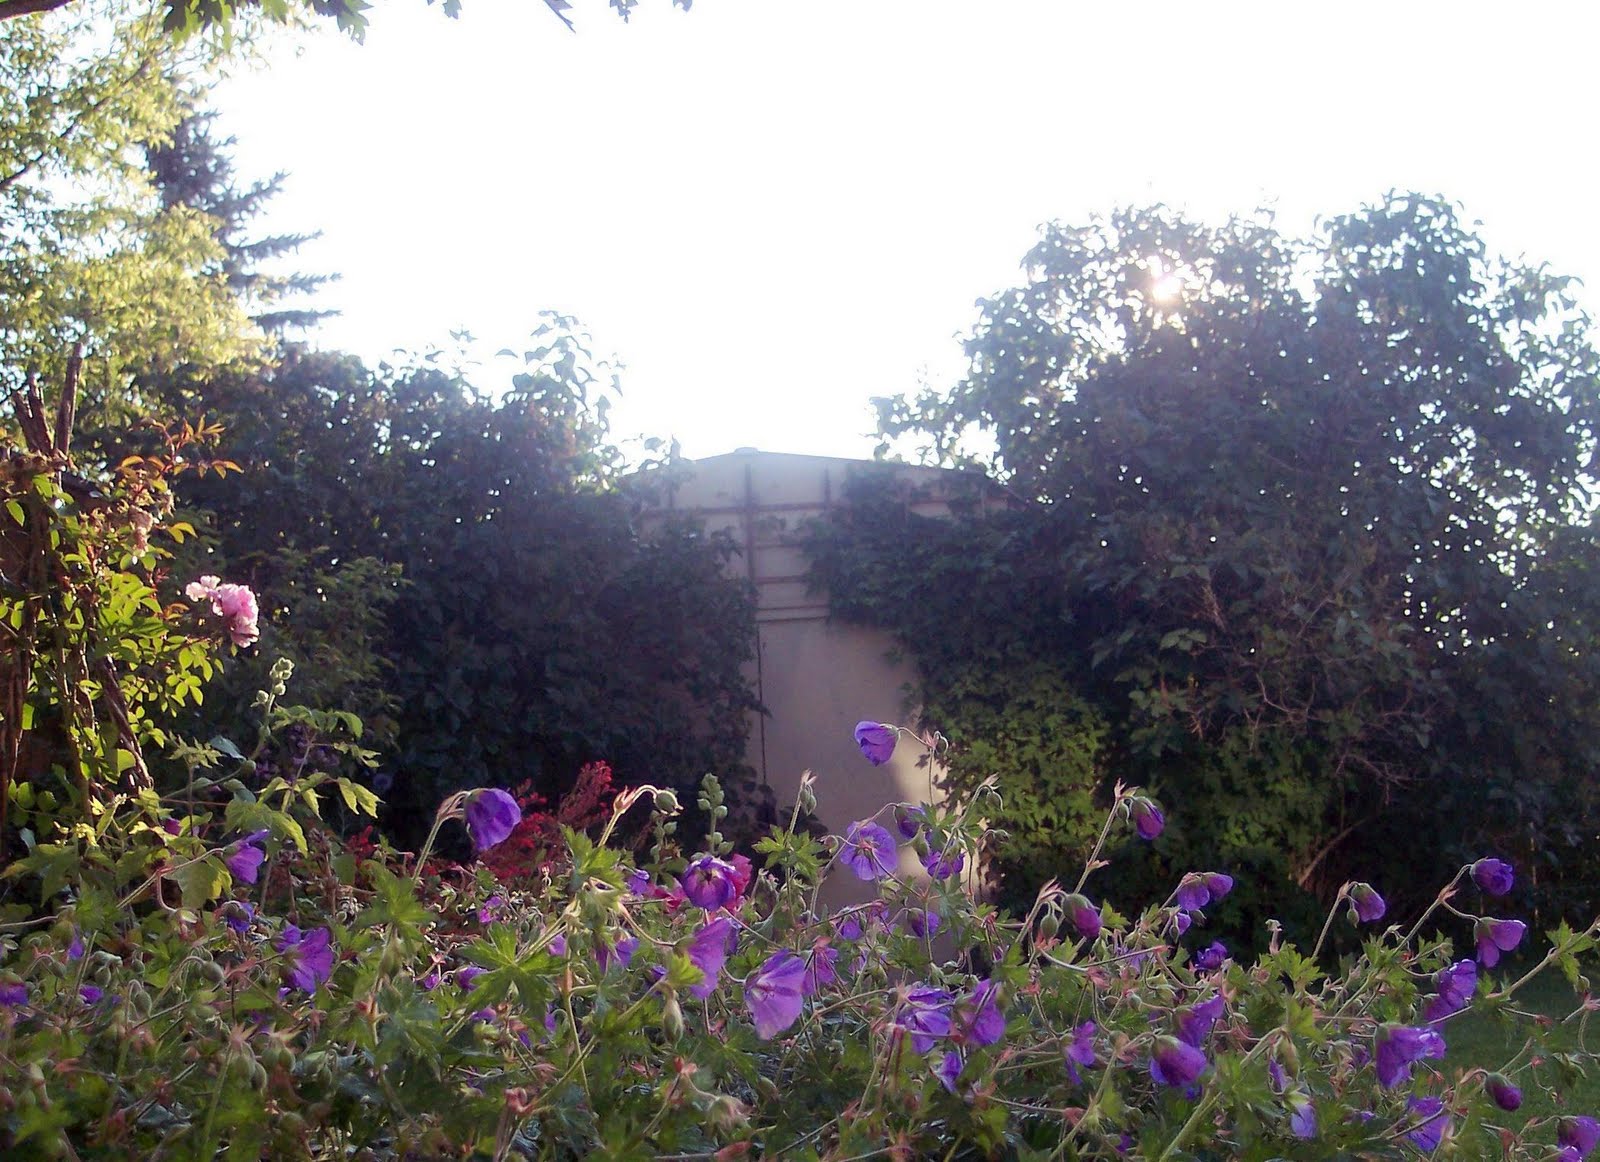
Jolly Bee geraniums have lovely foliage and vibrant purple flowers - almost blue.

Single Hollyhocks in bloom.

Lavender Mist Meadow Rue in front and clematis behind it.

Bluebird Clematis and John Davis roses on arched trellis.


Wednesday
Not all comfort food is soothing ... some is hot hot hot!
This is another one of my favorite recipes. This dish is delicious and somewhat rich but not to heavy. It is flavorful and packs some heat with a little sweetness and creaminess from the coconut milk and a hint of sour from the limes with wonderful herbal punches from the fresh basil and cilantro. If you do not like cilantro just use basil alone. (Amazingly some people do not like cilantro. I'm not lying.) Anyway the dish will lose nothing at all. Nada. Different times I use just one or the other and sometimes I use both depending on my inclination at that moment.

If you have a home made red curry paste that you like then you use it. There are many thai curry pastes on the market and I just kept on going and going and going until I found one I love. For my tastes Mai Jin Red Thai Curry Paste is the one. I also like Mae Ploy though it is hotter. All the Thai curry pastes are hot but some are hotter than others - I mean hotter than hell itself I hear for any of you who have been there and would like to know just how hot. (If you have been to hell and back please leave a comment sharing your experience with others.) Anyway, I am meandering a tad ... so - I urge you to try many different curry pastes until you find your true love.

Thai Red Curry Chicken
3/4 c. water
2 Tbsp fish sauce
1 Tbsp brown sugar
1 pound skinless chicken breasts (about 3 med), sliced in strips ¼”w x 1 ½ “long
1 - 14 oz can coconut milk
½ c. packed fr. Thai basil leaves
½ c. loosely packed fr. cilantro leaves
2 Tbsp juice from lime
1 ¼” c. zucchini, sliced thick then quartered
1 ½ c. chopped red pepper (large dice)
Cook curry paste for 2 mins. Add water, fish sauce & sugar. Stir. Add chicken, peppers & zucchini. Simmer 10 mins. Shake the can of coconut oil 10 seconds in case the contents have separated then add it to the pot. Simmer 5-10 mins. Take off heat and stir in lime juice. Stir then add cilantro & basil. Ladle over white rice and sprinkle with fresh cilantro and Thai basil.
Note: If you want more meat and no vegetables increase the chicken to 1 ½ pounds and eliminate the peppers and zucchini.
And remember .... ไม่กินเท้าไก่เพราะจะทำให้คุณเสียลายมือ
(Don't eat chicken feet because it will give you bad handwriting.)
Furthermore .... ปลาตัวเดียวเน่าเหม็นหมดทั้งข้อง
(One rotten fish makes the whole catch stink.)
A Classic to Sooth the Soul and Warm the Body - Comforting French Canadian Pea Soup ....
Pea soup is very Canadian. Very. It is thick and creamy & earthy. A very simple tummy warming food (is there such a thing - I think there is) that is especially appreciated when it is cold outside and you feel the need for something simple and hearty and moist. This recipe was submitted by a real live French Canadian. Yes. Canadian. And French to ... so it's authentic. I mean I didn't actually ask for identification but she has an honest face. And she speaks French better than I do.
Lovely with crusty bread sliced thickly and warmed in the oven then slathered with piles of butter.
Old Fashioned French Canadian Pea Soup
2 c. dried yellow peas
2-3 tbsp. vegetable or canola oil
1 large onion, chopped
8 c. cold water + water to soak peas
1 tsp. salt
2-3 pinches savory
1 ham bone with a bit of meat on it
1 c. carrots, sliced
In cold water, cover the peas and soak for 2 hours. Discard the water.
In large pot, heat the oil and saute the onion. Add drained peas, 8 cups of water, salt, savory, and ham bone. Cover and bring to a boil; reduce heat and simmer for 2 hours.
Add carrots and simmer for an additional 30 minutes, until the carrots are tender and the peas are mushy.
Serves 6-8.
Lovely with crusty bread sliced thickly and warmed in the oven then slathered with piles of butter.
Old Fashioned French Canadian Pea Soup
2 c. dried yellow peas
2-3 tbsp. vegetable or canola oil
1 large onion, chopped
8 c. cold water + water to soak peas
1 tsp. salt
2-3 pinches savory
1 ham bone with a bit of meat on it
1 c. carrots, sliced
In cold water, cover the peas and soak for 2 hours. Discard the water.
In large pot, heat the oil and saute the onion. Add drained peas, 8 cups of water, salt, savory, and ham bone. Cover and bring to a boil; reduce heat and simmer for 2 hours.
Add carrots and simmer for an additional 30 minutes, until the carrots are tender and the peas are mushy.
Serves 6-8.
Tuesday
More comfort food .... Middle Eastern Mujadarra

Mujadarra
The trick is to time the lentils and the rice to be ready at the same time. There are two easy ways to ensure they are just right. The first method is to use rice and lentils that cook at about the same rate - such as red lentils and white basmati rice. The second easy method is to simply cook the lentils and the rice separately until they reach the desired doneness then drain and combine them together with the onions and seasoning. I strongly recommend this - especially if you are not very familiar with the cooking times of the ingredients. If you happen to be familiar with the lentils and rice you can cook them together. Lentils are difficult to time frequently as the older they are the longer they take to cook so ... it is probably best to cook them separately. Having said that I happen to cook mine together ... Use your favorite lentils and your favorite rice and you will be sure to start off on the right foot and finish there to. Some people like to use a soft rice like basmati. Others like a brown rice for its healthy makeup and chewy texture. Most recipes use regular long grain rice. My favorite is a hearty firm rice so I use converted white rice. It is hearty, the grains are large and it retains it's shape and firm texture and cooks in 15 - 20 mins. There is a Mujadarra to suit everyone, so just use your favorite rice and your favorite lentils to make it exactly the way you want it. Now that is comfort food.
1 c. green lentils
1 c. converted long grain rice
2 large yellow onions, chopped
1 large red onion, thinly sliced.
3/4 tsp gr. allspice
3/4 tsp gr. cinnamon
3/4 tsp cumin seed, smacked up roughly with knife
1 tsp salt to start
1/4 tsp black pepper
Fry the yellow onions in 1 tsp oil over medium heat until caramelized. Add allspice, cinnamon, cumin, salt & pepper. Put aside.
Rinse rice and lentils well and cook each separately until done then combine ( OR rinse lentils until water runs clear. Bring lentils in 3 c. water to a boil; then turn down to medium low and cook 20 mins. Remove from heat and set aside. Rinse rice until water runs clear. Add to lentils and bring to medium low heat. Cover & cook for about 20 mins until almost done adding more water as necessary as it cooks. You still want a bit of bite to the lentils and rice. Remove from heat.)
Add the caramelized onions with the spices & salt & pepper. Stir & let sit.
Fry the red onion in 1 tsp oil over med. heat, stirring frequently until caramelized with lots of darker, almost burnt bits. Taste & add more salt & pepper to taste. Sprinkle fried onions over Mujadarra plus a little chopped parsley for colour & serve.
Wednesday
In the beginning Mom created comfort food ...
It only seems appropriate to kick off this blog with one of those foods that created this obsession in the first place. Those foods we grew up on, the standbys the ones Mom used to make that gave you that warm feeling inside and the most wonderful taste sensations on your tongue.
We all have old favorites from our childhood and new favorites in our adulthood. This is one of mine .... a lovely, oven baked pasta casserole with just a few simple ingredients. The kind of comfort food that makes me keep on eating just for the delicious taste and texture long after I am full. A simple pasta casserole cooked just right - a little 'al dente' with some sweet tomatoes and bathed in a lovely light creamy bechamel like sauce - but far easier to make.
The crowning glory - well what else - a lovely blend of your favorite melty salty cheeses, cooked until the cheese is gently caramelized and sweet and gooey and crispy around the edges.
Comfort food at it's simplest but you don't have to be a god to enjoy it ...

Decadent Macaroni and Cheese
This is Rose Murray's recipe (wonderful comfort food recipes and more to) with a bit of variation to suit my tastes. This recipe is in almost all of her cookbooks - a testament to how much it is loved. If you tend to like your food salty you will definitely want to add more salt than noted. Also - don't be tempted to add extra pasta.
This is a finely tuned recipe and if you add more pasta you will wreck it. So don't.
6 oz. macaroni (measure 3 1/2 c. when cooked)
1 1/2 - 2 c. grated cheese, half old cheddar & half mozzarella
1 - 14 oz. can diced tomatoes
3/4 tsp. sugar
3/4 tsp. yellow mustard
3/4 tsp. Worcestershire sauce
1/2 tsp. thyme
1/2 tsp. salt
1/2 tsp. Tabasco sauce
dash pepper
1 small egg
1/4 c. + 2 Tbsp milk
Cook macaroni until al dente. Drain & pour into greased 8 c. casserole.
In small bowl shred cheeses & mix together. In another bowl stir together undrained tomatoes, sugar, mustard, Worcestershire, thyme, salt & 1/4 of the shredded cheeses. Pour over the pasta in the casserole dish & mix. Sprinkle cheeses on top. In small bowl stir egg w/ milk. Pour egg & milk mixture over top of cheese. Do not stir. Step away from the casserole. Tut! Tut! I see you - put that fork down & step away .... farther ... a little farther. ( far·ther –adverb 1. at or to a greater distance). Okay.
Now slip it into the oven & bake it at 350 Fahrenheit for 30 - 40 mins until caramelized & delicious looking. Let rest 5 mins. out of oven & enjoy with a lovely green salad.
Subscribe to:
Posts (Atom)